Using the Block Editor
Overview of the Block Editor
Inserting Blocks
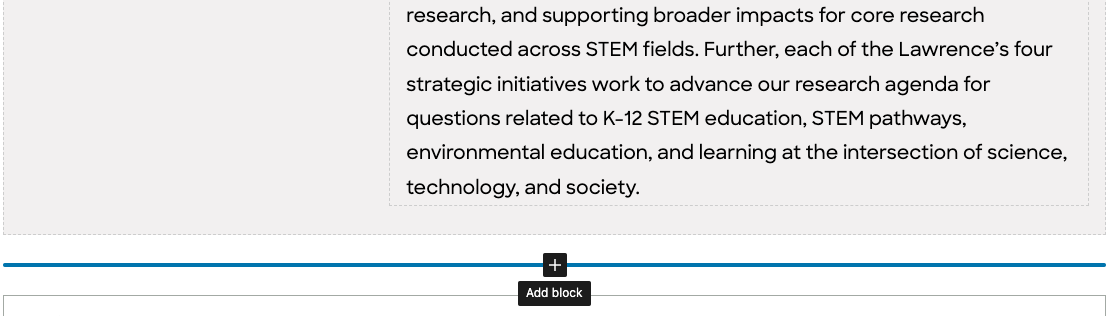
When you’d like to add content you can hover your mouse until you see the “plus” button. This will let you insert a block. Every piece of content is inserted as a block. Some blocks are simple such as a paragraph or a heading, some are more complex and made up of different components or groups.
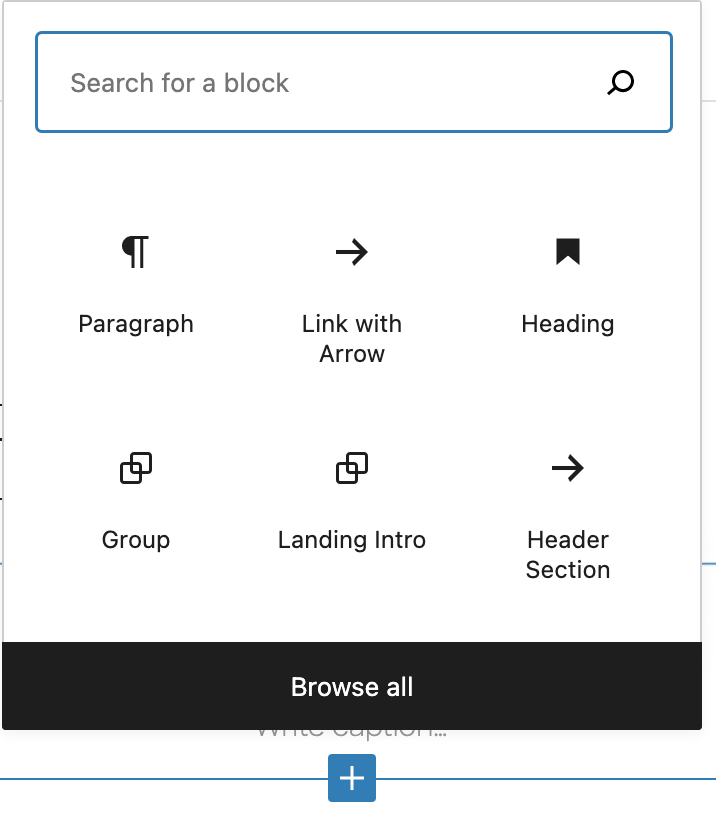
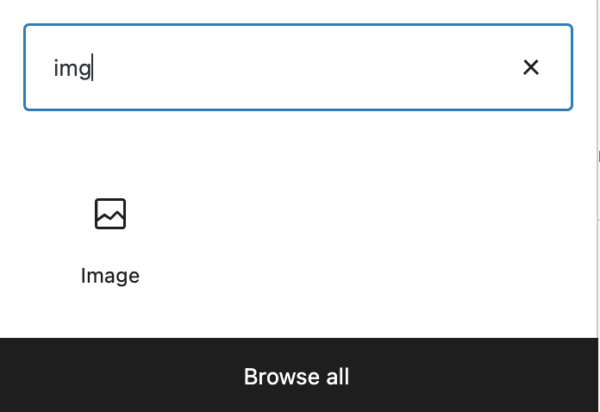
When you click the plus, you will have a selection of blocks to choose from:
Block Options
Once you have inserted a block, you will have another pop-up options bar:

If you click the paragraph symbol, you’ll see a drop down list of options you have to change your block into a different block, for example a heading.
If you click and drag the group of six small dots, you will be able to drag the block to a new area on the page. The up and down arrows next to them also let you move a block up or down on the page.
The Italic button makes text outline in our theme for headings.
If you click the arrow next to the link button, this is where you will find the inline code font which is used for dates or times.
If you click the three dots on the far right, this is where you’ll find the option of viewing your block in html. You can switch back to viewing the block visually again.
Finding the Dashboard
Clicking the WordPress logo in the upper left corner will get you back to the dashboard:
Right-Hand Sidebar
The Right Hand Sidebar will also give you many options:

As you can see, it is divided into two types of settings, one for the POST or PAGE and one for the individual BLOCK.
If you can’t find the setting you are looking for, make sure that the block you are working on is selected (your paragraph, image etc.) and then click the BLOCK tab to view the block settings.
If you want to view the settings for the whole post or page, such as selecting categories, or choosing a featured image, those will be under the POST tab. The POST tab is where you will also find the URL slug and the actual URL of your post. You will also find the REVISIONS here if you’d like to compare previous versions of your post or page.
If you click the three dot menu at the top of the sidebar after the PUBLISH button and the SETTINGS gear, then you will have another menu:
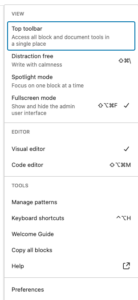
This menu is useful if you want to switch back and forth from the CODE EDITOR or the VISUAL EDITOR. It also lets you select to COPY ALL CONTENT if you’d like to copy your entire page.
Adding a Line Break
Shift + Return will allow you to add a line break (with no spacing between the lines).
CSS Classes and Anchor Links
Click on the ADVANCED TAB in the BLOCK sidebar to find where you can add classes or IDs for anchor links.
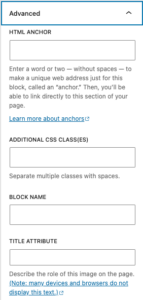
In general, you shouldn’t have to add any classes because they will be automatically applied. But for adding duotone, for example, those you would add here.
To make an anchor link, enter the word(s) (no spaces, use hyphens or camelCase) in the HTML anchor box for the component that you have selected.
For example, if you wanted to link to a specific section on this page titled Overview of the Block Editor, you could enter “overview” into the HTML Anchor box and then for your link, write the full link of the page and add #overview to the end of it. Ex: https://lawrencehallofscience.org/internal/using-the-block-editor/#overview
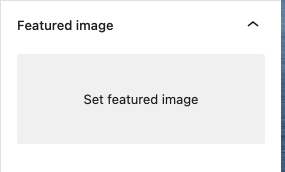
Featured Images
Please add a featured image for each of your posts. These are the images that will display on the site when your posts displays in a list of posts such as a list of events, news articles, or featured articles or activities.
Please don’t choose hero images (images that are have a long width) because they do not size as well when they are displayed.
Please make sure your featured image is not an image with text. In the circular image displays of posts, the text will be cut off when the images are resized.
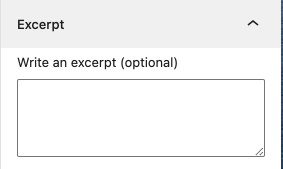
Excerpts
Use the excerpt box underneath the featured image in the POST sidebar to write a blurb that you want to show when the post is displayed in a list of posts. If you leave this blank, it will automatically pull in the beginning words from your post. If you prefer to have a full sentence that is not cut off, or different text to summarize, however, please write your text here.
Permalinks and URL Slugs
The permalink is the URL that your page or post will have. The URL slug is the ending portion of the URL. It is good practice to be thoughtful about what the URL slug is rather than let it be a random assortment of letters or numbers. It’s important to let the visitor know what the page is about. We have the site set up so that URLs will be generated automatically based on the page name.
Keep in mind, that if you update the name of the page while you are making it, you should check the URL slug and update it too if you want it to stay the same as the name of the page. Generally it’s good to have them match unless the page name is very long, you may want to shorten the slug. If your page has already gained visibility regarding SEO, it may make sense to keep the same URL to not lose that.

Adding Categories or Parent Pages
Categories
It you are making a POST, you will need select a category (or more than one) for your post to belong to. Categories determine where your post is displayed on other areas of the site. For example, if it’s a workshop, then it can be pulled into a list of workshops, or if it’s a learning activity it can be displayed with the other learning activities and also show up in lists that are filterable by different topics. For events and news posts to display on the homepage, please be sure that you have the correct featured category selected.
Please use the existing categories that we already have, so that your content can be found and pulled in dynamically to other parts of the site.
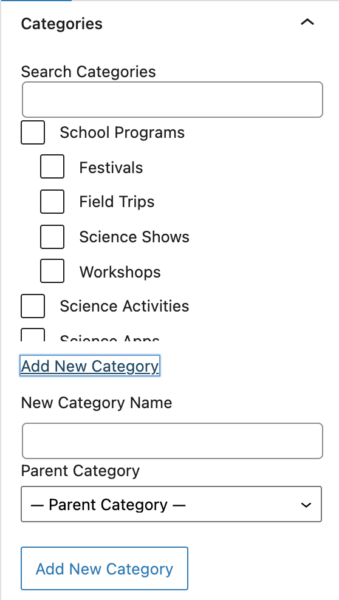
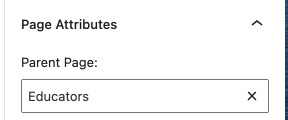
Parent Pages
If you are creating a PAGE, please check the site map to see where your page fits within The Lawrence’s site map and page structure. Then select the appropriate parent page. When selecting the parent page, please select the immediate parent page above the one you are making.
The parent page selection is the PAGE sidebar.
Using Custom Fields In Posts
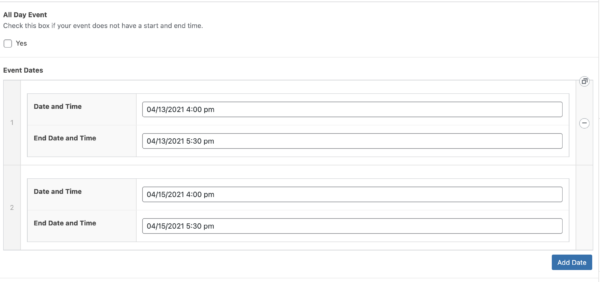
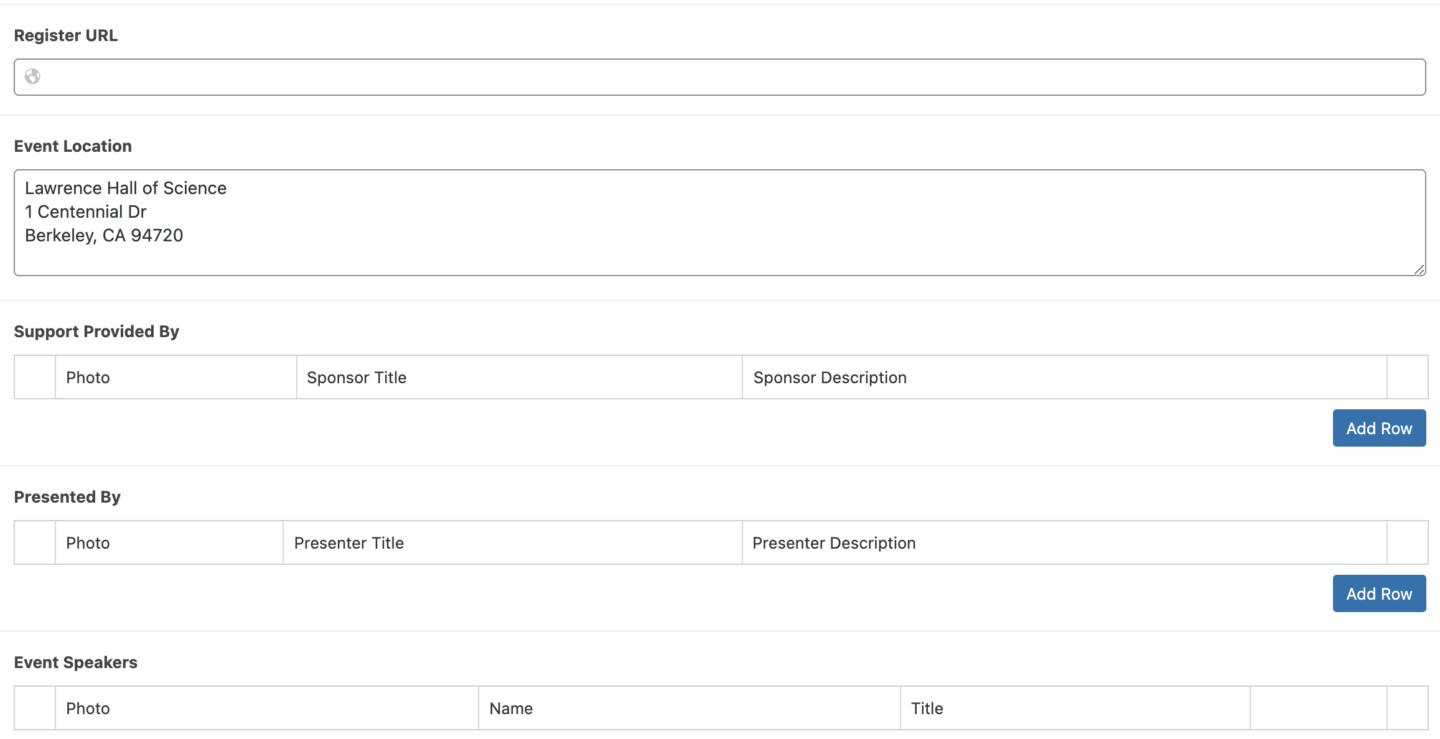
Some posts will require the use of custom fields. This information is very important because it is what is displayed in lists of posts (for example if your post is an event, the date and time can be displayed) or if your post will be in shown in results that are searchable such as from a filter. All of the topics that a user can select to filter content match the custom fields that you fill in from your posts.
Below is an example of custom fields from the Events posts. Scroll to the bottom of the post once you have entered your content (title, description paragraph, image etc.) to find where you can fill in the date and time and other information.
Some types of posts have a custom post type. These posts need to be created in their own section in the dashboard, rather than underneath Posts.
Adding Media
Images
You can add images by choosing the IMAGE block. Please choose the option to select images from the Media Library. From the Media Library, you can upload your image. The benefit of uploading it here, is that any alt text you add will be saved to the image for everywhere it is used on the website. If you enter the alt text directly on the post or page, then it will only be saved to that one instance of the image.
Files
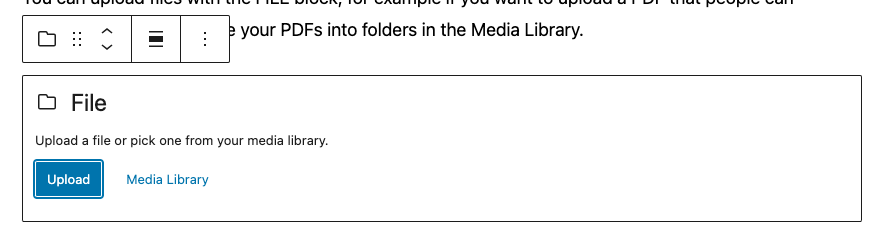
You can upload files with the FILE block, for example if you want to upload a PDF that people can download. Please organize your PDFs into folders in the Media Library.
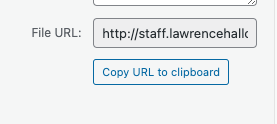
You can find the URL of your pdf file by clicking the item in the Media Library and then looking to the Right Hand Sidebar. The FILE URL goes to the PDF directly.
Organizing Your Media and Writing Alt Text
After you have uploaded your media to your post or page, please go to the Media Library and move your images or other media into the appropriate folders. It would also be a great time to write Alt text for your images. If you write it directly within the media library, then the alt text can be saved for future use.
In the Media Library, click the image, then scroll down to where the alt text box is:

Please also view the best practices for images regarding selecting images that are on brand and on how to make your images and media accessible.
Adding Email & Phone Links
Please make email addresses links by selecting it and clicking the link button.
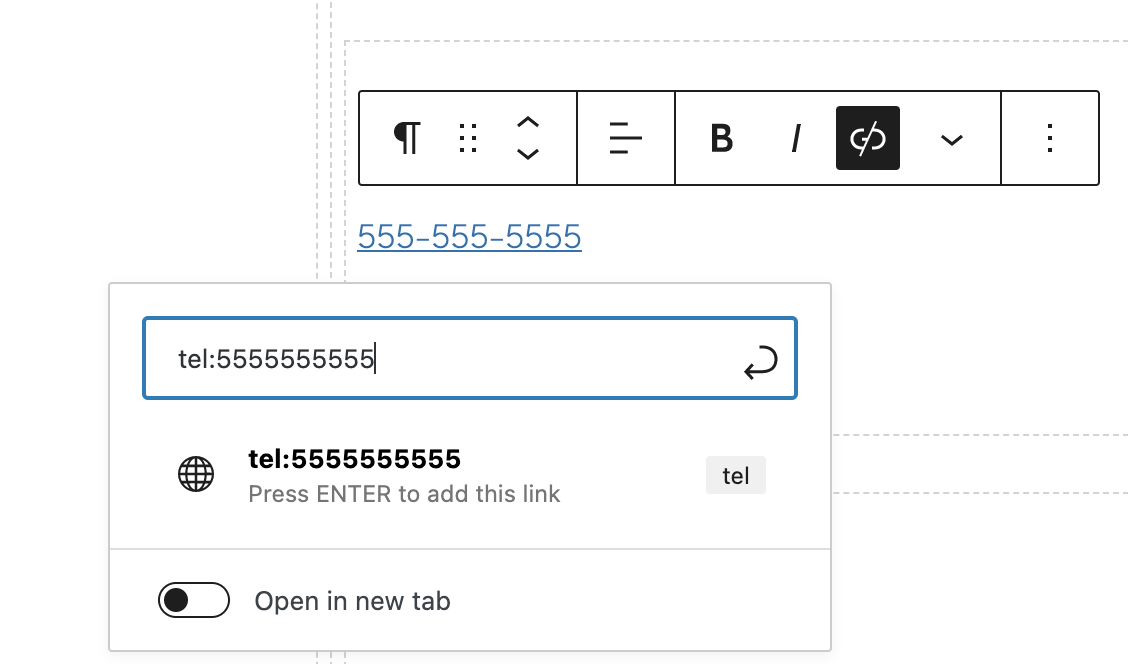
To make phone numbers links, click the link button, add tel: plus the phone number without any dashes or spaces.
Publishing Your Post or Page
It’s easy to publish a post or a page, just click the blue PUBLISH button in the top right hand corner. It’s also easy to switch a post or a page back to a draft or to save it as a draft before you are ready for it to go live, or to preview it. Just use the options right next to the PUBLISH button.
You also have the option of changing the publish date – if you write a news article for example and want it published on a certain day. Or if you are copying over content from your previous website and would like to keep the original date it was published, just click the date and it will bring up a calendar for you to select a new date.
Make sure that if you make changes, you remember to update your post or page by clicking UPDATE. Sometimes it’s easy to make a lot of changes and forget to actually save them by updating. Be aware that it’s also possible if you are working in more than one tab or window of the same page (perhaps you viewed the page in a new tab) that it’s possible to accidentally save over top of the most recent updates if you aren’t on the tab or window with the most current version.
